


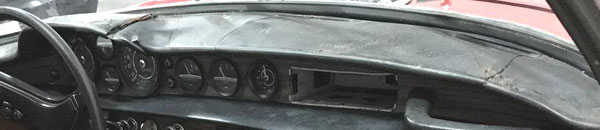
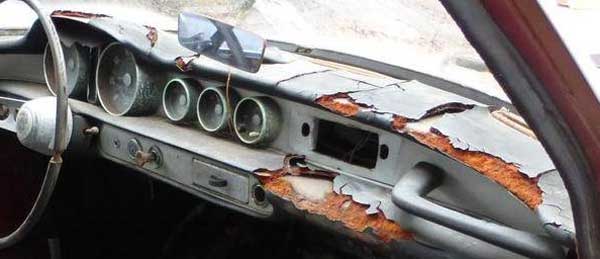
Die Auflagen des Armaturenbretts, ganz besonders die obere, wird durch Wärme und UV-Strahlung angegriffen, der geschäumte Kern zerfällt und die dünne Deckhaut reisst und splittert.
Zur Sanierung müssen die Auflagen demontiert werden.
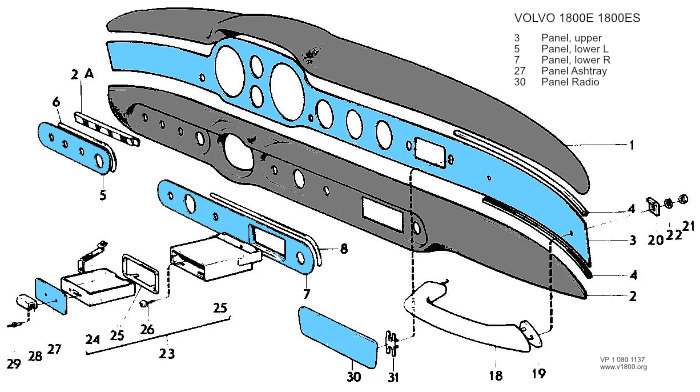
Bill Webb beschreibt in seinem Buch "Swedish Iron aka Volvo 1800" wie man am besten vorgeht.
- Remove both of the front seats from the car. You are going to spend most of the time lying on your back looking up behind the dash. Line the floor with heavy blankets or thick foam rubber pad. A small pillow is not a bad idea either. I personally like to remove the steering wheel as well but it is not necessary.
- Lower the A/C unit under the dash and swing it aside. If your car has no A/C it makes the job easier.
- Remove the radio.
- Remove the speedometer. By removing the radio and speedometer, you will have an opening on both sides of the instrument panel for access. It's also better if you have small hands.
- The underside of the dash top is held across the front with short Phillips head screws. I use an extremely long screwdriver for breaking these screws loose. Be careful not to strip the Phillips heads as the screwdriver has to be held at an angle.
- At each end of the dash top there are two screws which are inverted and held in place by small nuts. Don't do anything with these yet, except maybe try and figure out how you can remove them. You have absolutely no clearance for wrenches or socket extensions, etc.
At the rear underside of the dash top next to the windshield you will find three sheet metal hex head bolts. Use a long socket extension to remove these. - Now back to the screws at each end of the dash with the small nuts attached. Using a small open end wrench, loosen these screws as much as you can. About ë turn at a time is the Limit.
- Next, pry the dash top up at the ends next to the screws. (You won't be able to remove the nuts before you run out of patience.) Insert a hacksaw blade between the dash top and the instrument panel, and taking short strokes you will be able to make a neat cut through each screw above the nut. (You will not need to replace these end screws, since there are more than enough screws across the dash to hold it in place.)
- Next lift the dash top, starting at the front next to the windshield, and then maneuver it over the steering wheel, being careful not to scratch the instrument panel or the interior.
